When it comes to my characters the key points to my character's design is drawing on reflex. With so many frames to draw, if I can't draw the character's features I'm doomed.


For the child I opted for the mob design i did initially. I have tried other designs but I just like this one best. The hair is a lot easier to draw as well, this will make animating him a lot easier (as easy as hair animation goes).
The Toy
The bus/ toy in the film is actually based on Hong Kong mini buses, which is a transport I take quite frequently around where I live. Although the design is a little different to buses it looks pretty straight forward. The toy actually exist, it's technically pocket sized but I made it a little bigger and simplified the design a little:

When I was brainstorming what toy to use I made sure it had to be something bulky enough to be stuck down an elevator shaft and durable so that it's not completely damaged by the time they retrieve it.
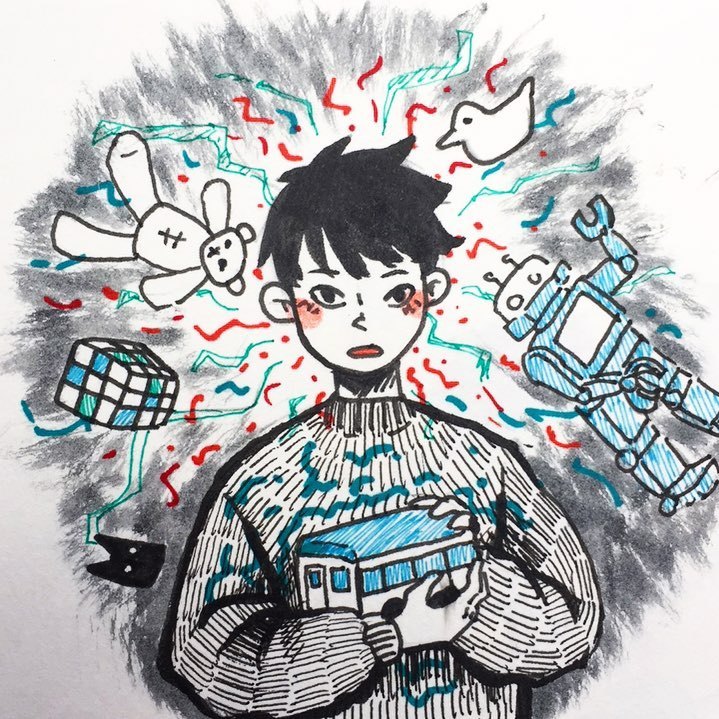
This was an inktober I that persuaded me to use the toy bus. There were other choices such as the rubix's cube, a toy bird etc. But I wanted something quite personal. As a big fan of toy cars when I was young I decided to use the buses/ cars for the main prop.
One thing I need to figure out is whether the toy in the flashback and the toy in the present day should be the same. it makes sense for it to be a little different so the audience know it's not the same timeframe or the same toy. It will still be a vehicle or transport of sorts just to keep the situation quite similar.
Colouring
Security guard uniforms are mostly grey, black or blue. I ended up using the blue just so there's a pot of colour to my character but crisp black slacks and white shirts makes it easier for me to colour. The security guards skin tone is a bit tan, as I wanted have this contrasting colour theme going on and the orange tone pared well with the blue.

All the characters are coloured using bucket tool & touch up on a regular brush for the edges, which makes it an easy process to follow. There will also be a layer of shadow that follows the character which needs to be animated with the movement. They are mostly under the hairline, cuffs of the jacket/ where the light hits.
Most of the character colours I've already decided during pre-production. Once I settled with the background colours I tweaked the characters to work around that palette.
FINAL BACKGROUNDS
After the initial backgrounds I decided to sketching out a couple more detailed ones for a few shots I had in mind. One background takes about one day to do, sometimes faster if I don't get distracted. Here are some backgrounds I drew out, I decided to use these shots in the opening sequence of my film to set a very distinct atmosphere for the audience.


Here is a coloured example from another film he worked on Blue Exorcist the movie, I honestly adore his work so much. My drawings aren't as detailed and I still have a lot of work to do colouring wise, but but looking at his backgrounds inspire me so much:

I had this shot coloured combining two of the initial drawing colour schemes I liked. I tried to keep the blend layers to a minimum but I ended up using a lot of layering to get some interesting lighting shots. I played around with lighting a bit too much here. Since it needs to be animated I don't want to include too much character shadow to make the colouring process more complex.

It's still a work in progress, however I really like how the blue compliment my character's outfit so I think I have a overall base colour I can work my palette around. This will make it easier for coming up with colours for the lift scenes as well.
Final background colours:


I wanted to set a contrast between the colours in the lift and the hallway. Where the hallway is badly lit and quite grim the lift is more luminous with warmer tones of colours in comparison. With this glowing surreal yellow tone it contrast the blue in the hallway. For the close up shots those backgrounds will be drawn digitally with a pencil brush to imitate the hand drawn look.
The reason I choose to use the overall green tones is because it was inspired by the green that is quite promenade on the streets of Hong Kong/ old buildings:


I ended up using the shadows just to give my walls something extra as some walls seem very bare compared to others, but not enough to create directional lighting that might complicate colouring later on.